

Are you struggling to make enough money from your Shopify store? A sales countdown timer could solve that problem.
While the top Shopify stores can generate sales worth thousands of dollars each month, some store owners struggle. So, if you were disappointed by the results of your last sale, you’re not alone.
One smart way to boost sales is to create a sales countdown timer for your Shopify store.
Sales timers let you promote your sale to every visitor. They’re also a great way to make visitors take action NOW by using marketing techniques like urgency and FOMO so your visitors feel compelled to buy.
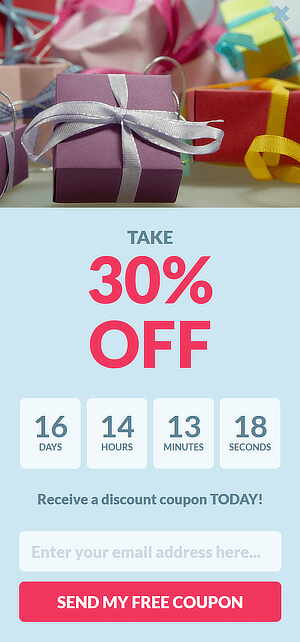
Sales countdown timers are proven to get results. Lifter LMS unlocked $23,700 in additional sales within five months with a simple countdown timer on their pricing page. Kennedy Blue, an eCommerce site, increased sales by 50% with the help of a sales countdown timer like this one:

In this guide, we’re going to show you how to create a sales countdown timer for Shopify that will give your visitors a great experience AND help you boost your income.
Here’s the timer we’re going to create:
Before you begin, you’ll need to get OptinMonster so you can easily create this effective slide-in campaign.
1. Create a Campaign
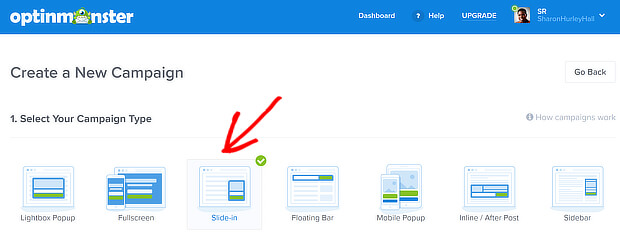
Login to the OptinMonster dashboard, and press the Create Campaign button. This will start your new campaign.

Choose a campaign type. We’re going to choose the Slide-in, because it will stay on the page without disturbing your visitors and looks great on mobile devices.
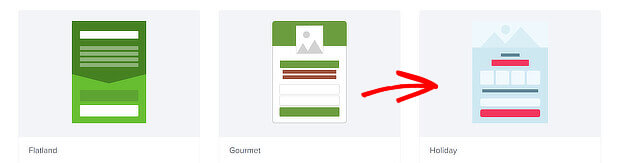
Choose a theme. We’re going to use the Holiday theme because it has a built-in countdown timer bar. You could also use the Spooktacular or Black Friday themes, or design your own campaign with our Canvas theme.
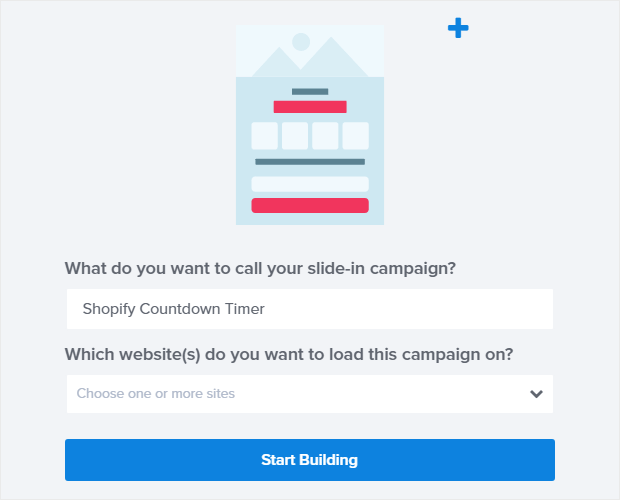
Name your campaign. You can add the site where you want your campaign to run at this stage, but we’ll leave it blank for now. Don’t worry, we’ll show you how to publish your campaign to Shopify later in this tutorial.
Press Start Building.
This will take you to the OptinMonster campaign builder, where you’ll see the default Holiday campaign.

2. Edit the Campaign
Next, we’re going to edit the campaign to create the Shopify product countdown timer.
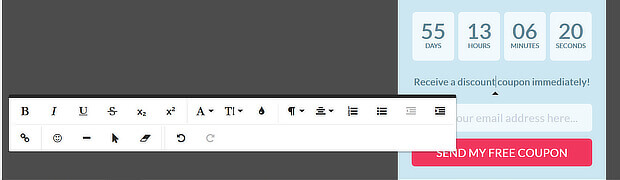
We’ll start by changing the headline which tells visitors what you have on offer. Click to select the text, and type in the text you want to use instead. You can format the text with the popup editing toolbar.
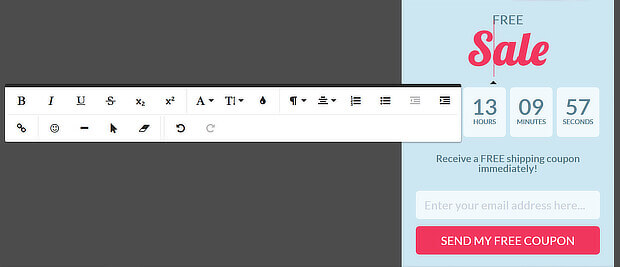
Edit the body text in the same way.
Click on the image area to replace the image with something suitable for your Shopify sale. You can find suitable images by visiting one of these sites hosting free images.
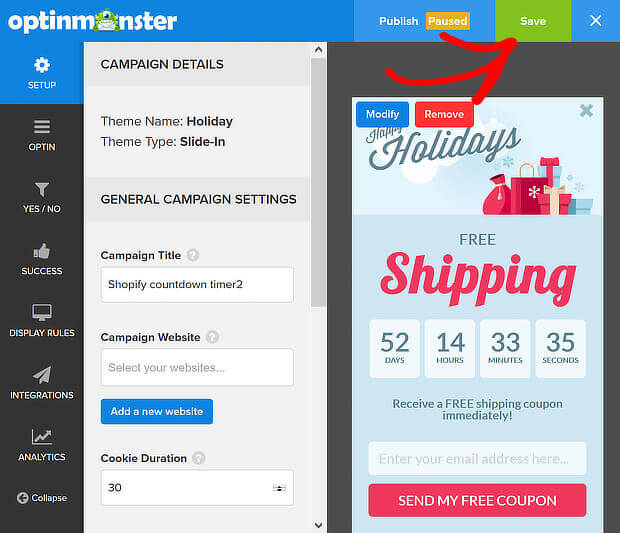
Save your campaign. Do this at regular intervals throughout this tutorial.
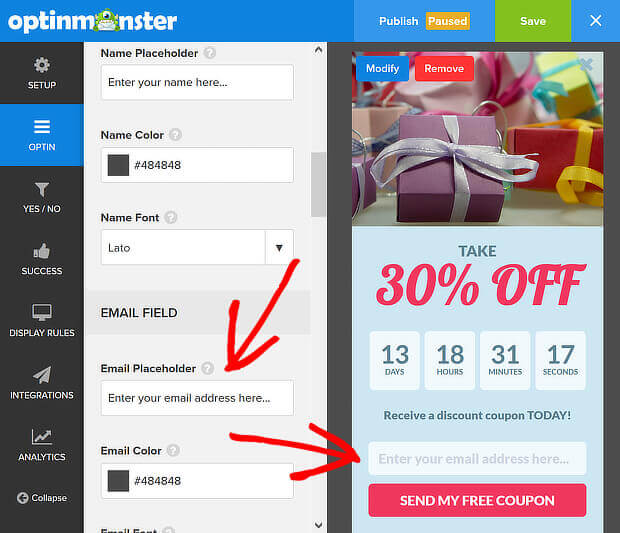
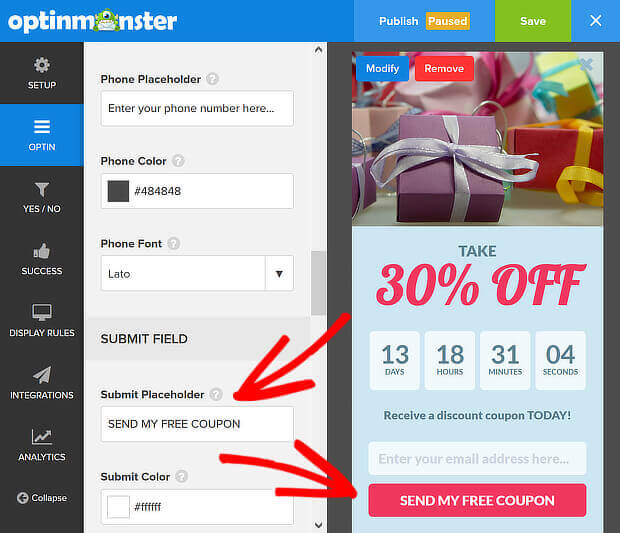
Click on the email field. This will take you to the Email Placeholder section on the left. You can edit the placeholder text here, though we’ll go with the default text.
Next, click on the submit button to go to the Submit Placeholder menu. If you wish, edit this text.
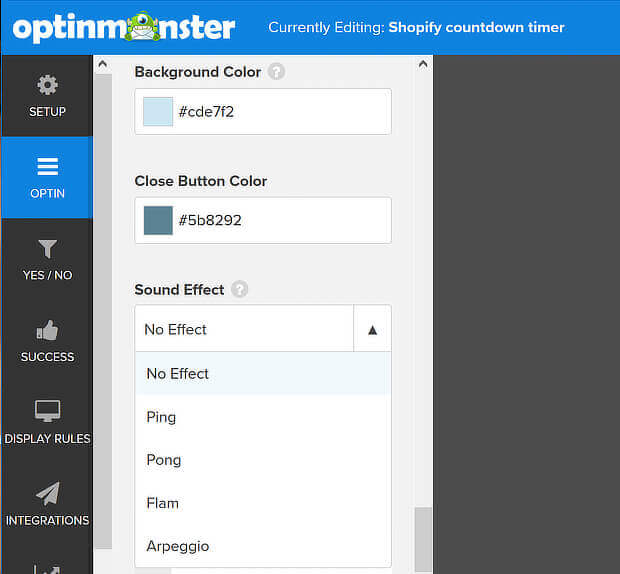
If you want to make sure visitors don’t miss your slide-in sales countdown timer, consider adding an effect.
You can add a sound effect by going to Design Fields » Sound Effect, and choosing one of the available options. This will be particularly effective to alert mobile visitors.
3. Edit the Sale Timing
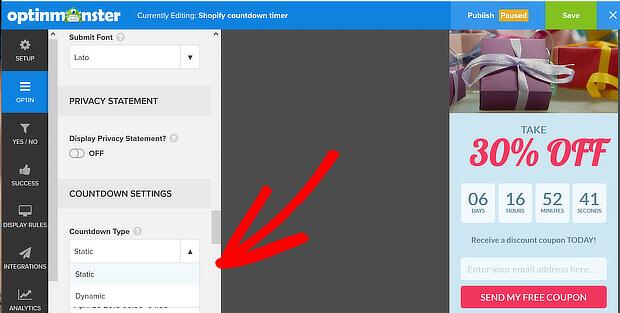
Next, it’s time to choose the timing for your sales countdown timer. Go to Countdown Settings.
OptinMonster offers both a static and a dynamic timer. The static timer shows the same countdown for all visitors. The dynamic timer shows a customized countdown for each visitor, depending on their behavior on your site.
Since we want to show the same offer to all visitors, we’re going to use a static timer.
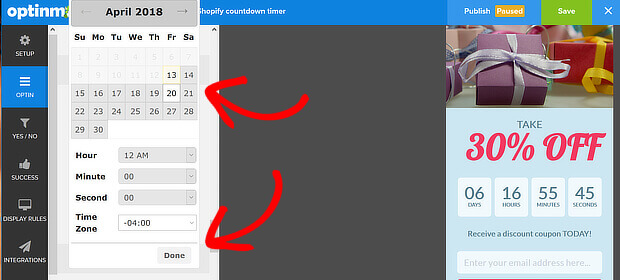
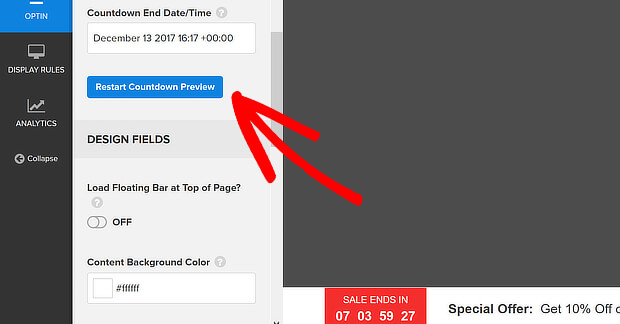
Then go to Countdown End Date/Time. Click the date and a calendar will pop up. Change the date to the end date of your sale, then choose a timezone. Press Done to go back to the OptinMonster campaign builder.
Press Restart Countdown Preview to see the updated countdown on your campaign.
4. Set the Display Rules
The next step is to choose when your sales countdown timer will appear. To do this, go to the Display Rules section of the OptinMonster campaign builder. Navigate to When should the campaign appear.
By default, the After ‘X’ Seconds rule is enabled, which means that all visitors will see your Shopify product countdown timer after they’ve been on your site for at least 5 seconds.
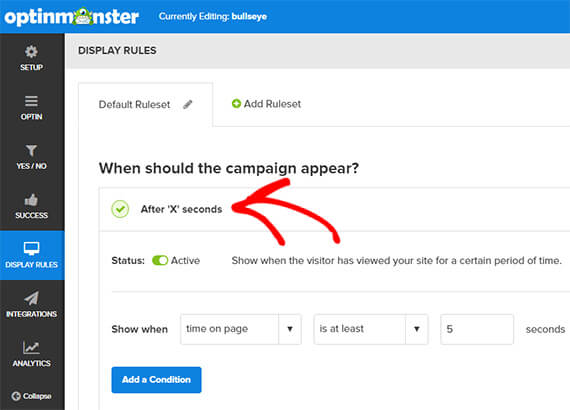
If you want the timer to display right away, you can set that timing to 0.
We’ll look at other display rules you can use later in this tutorial.
5. Add Your Email Integration
Delivering your coupon by email gives you the chance to get your customers’ email addresses so you can send them more offers later. To do this, you’ll need to integrate your email service provider with OptinMonster.
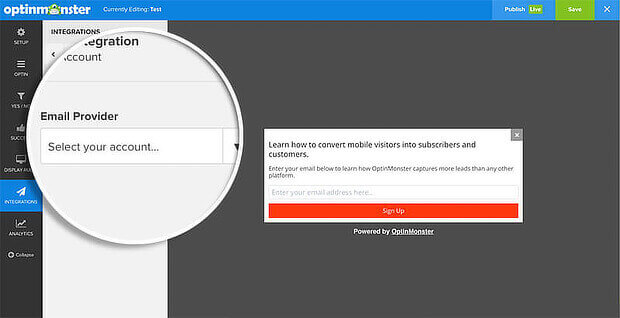
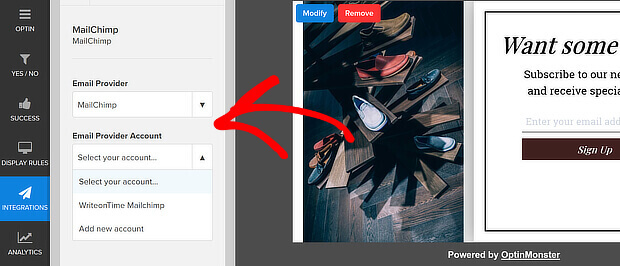
Here’s how you add MailChimp. Go to Integrations » New Integration » Email Provider. Pick MailChimp from the available options.
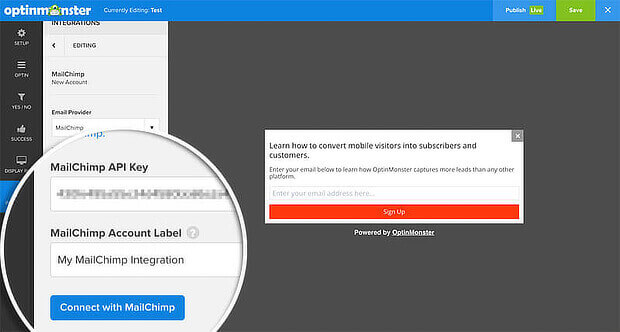
Add your MailChimp API key in the correct field. Then give your integration a name. Press Connect with MailChimp.
Go to Email Provider Account. Choose the list where you’ll add your new subscribers.
Go to Lead Options if you want to enable double opt-in.
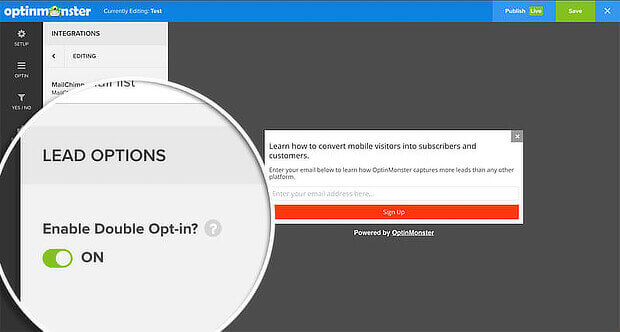
(Our article on double opt-in vs. single opt-in can help you make that decision.)
You’re all set with your MailChimp integration. If you’re using another email integration, check out these instructions.
6. Deliver Your Offer
You’ve got a couple of options for letting visitors to your store take advantage of your sale. For example, you can deliver your coupon by email as described above.
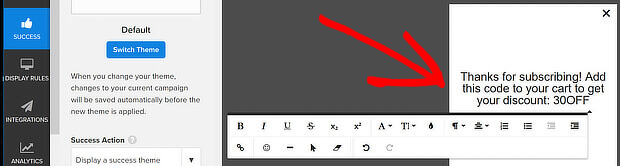
You can also go to the Success tab in the campaign builder. Edit the default success message as described earlier to include the coupon code.
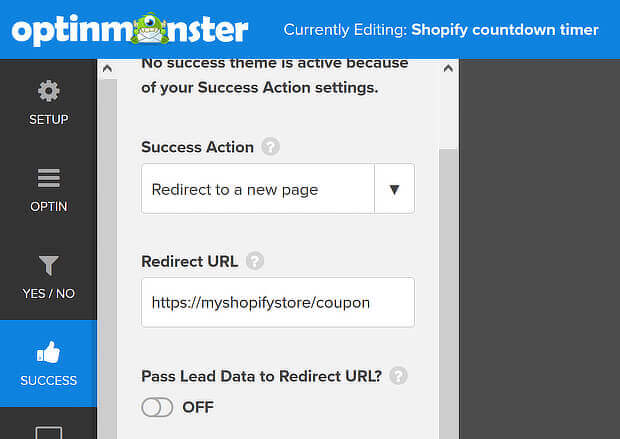
Or you can use a Success Action to apply the discount directly to the customer’s cart. Choose Redirect to a new page, then add your Shopify coupon URL in the Redirect URL field.
Learn more about this in our Shopify exit popup tutorial.
7. Publish Your Campaign on Shopify
When you’re happy with your campaign, save it again and get ready to publish it on your Shopify store. You’ll need to link OptinMonster and Shopify first, as shown in the video below. If you prefer written instructions, see our guide on how to integrate Shopify with OptinMonster.
Next, go to Setup » Campaign Website, and add the URL of your Shopify website.
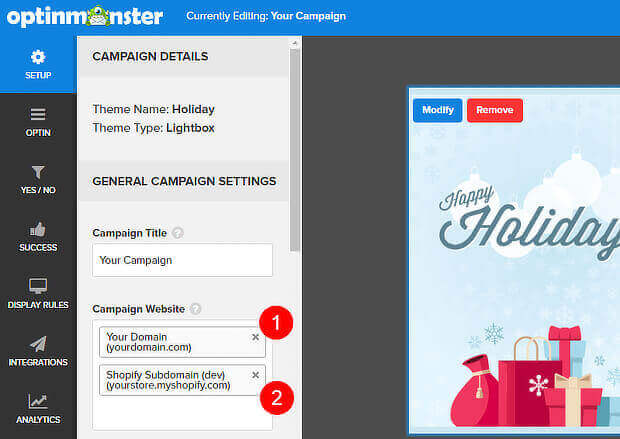
Save your campaign again, and click Publish. You’ll see a range of publishing options, including Shopify.
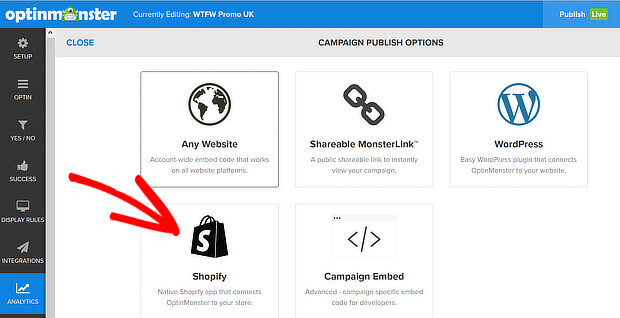
Toggle the Publish button to make the campaign live, and your campaign will appear on your store.
Other Ways to Get More Sales With OptinMonster
There are also other ways to do even more with OptinMonster and Shopify.
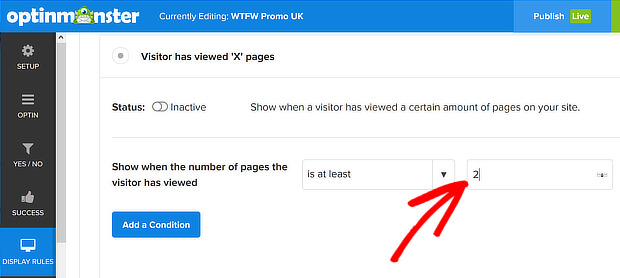
For example, since engaged visitors are more likely to buy, you can also make sure that only engaged visitors see your sales countdown timer. To that, go to Display Rules » When should the campaign appear? Enable Visitor has viewed ‘X’ pages, then set the number to 2 or more.
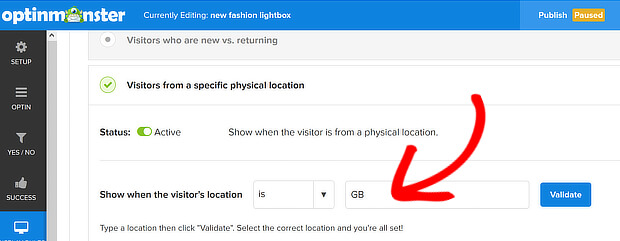
If you target different geographical markets, you can use geo-location targeting to show different offers to visitors in different regions. That’ll let you run more targeted campaigns that are even more likely to get the sales you want.
To enable this, go to Display Rules » Who should see the campaign » Visitors from a specific physical location. Activate the display rule by clicking the toggle, then type the location you want to target in the box. Go through the validation process, then save and publish your campaign.
Learn more in our geo-marketing guide.
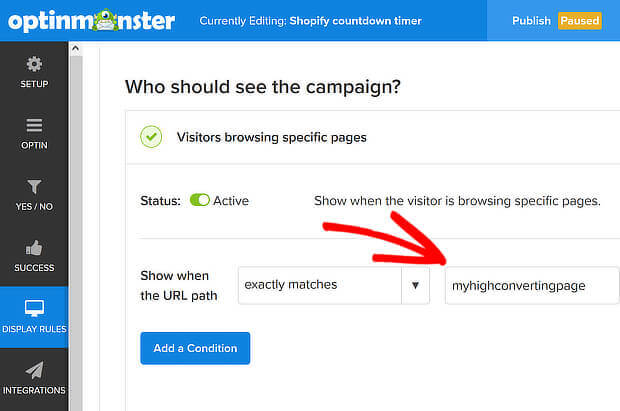
And you can use OptinMonster’s page-level targeting to show you offer only on your highest-converting pages. This makes it even more likely that visitors will buy.
To enable this, go to Display Rules » Who should see the campaign » Visitors browsing specific pages. Click the toggle to activate the display rule, and use the onscreen boxes to add the page where you want the campaign to appear.
That’s it!
Now you know how to boost your Shopify sales with a sales countdown timer. Next, learn how to create a Shopify announcement bar or boost your email list with a Shopify MailChimp signup form.
Not using OptinMonster yet? Get started so you can improve your Shopify sales today.


No comments:
Post a Comment